|
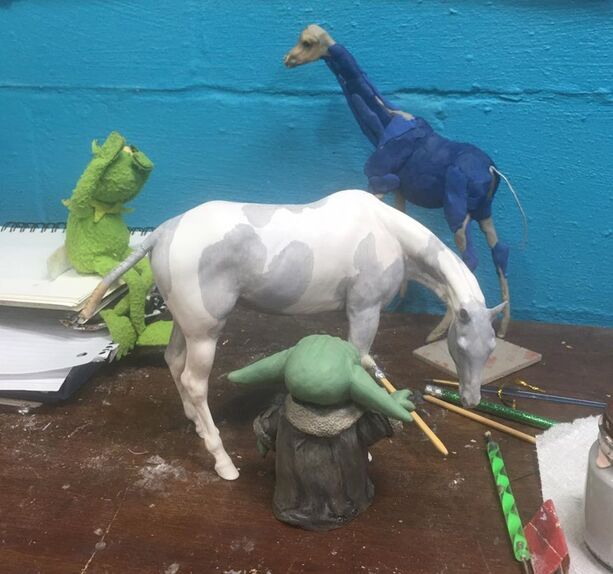
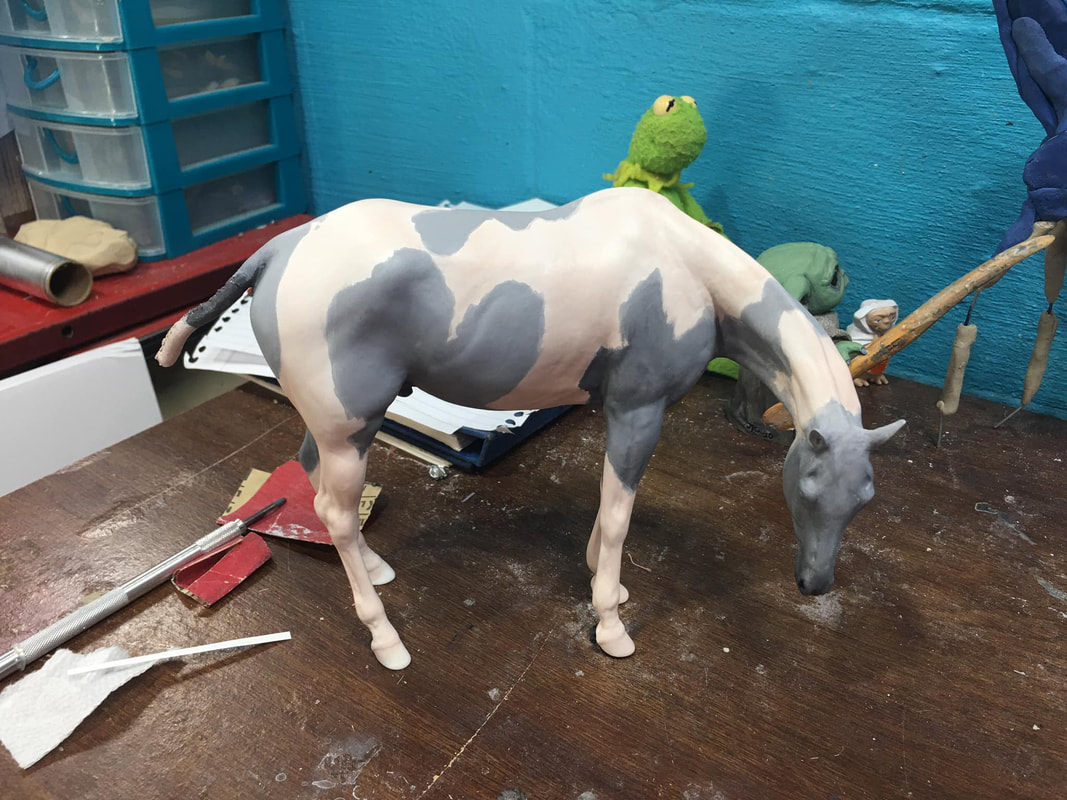
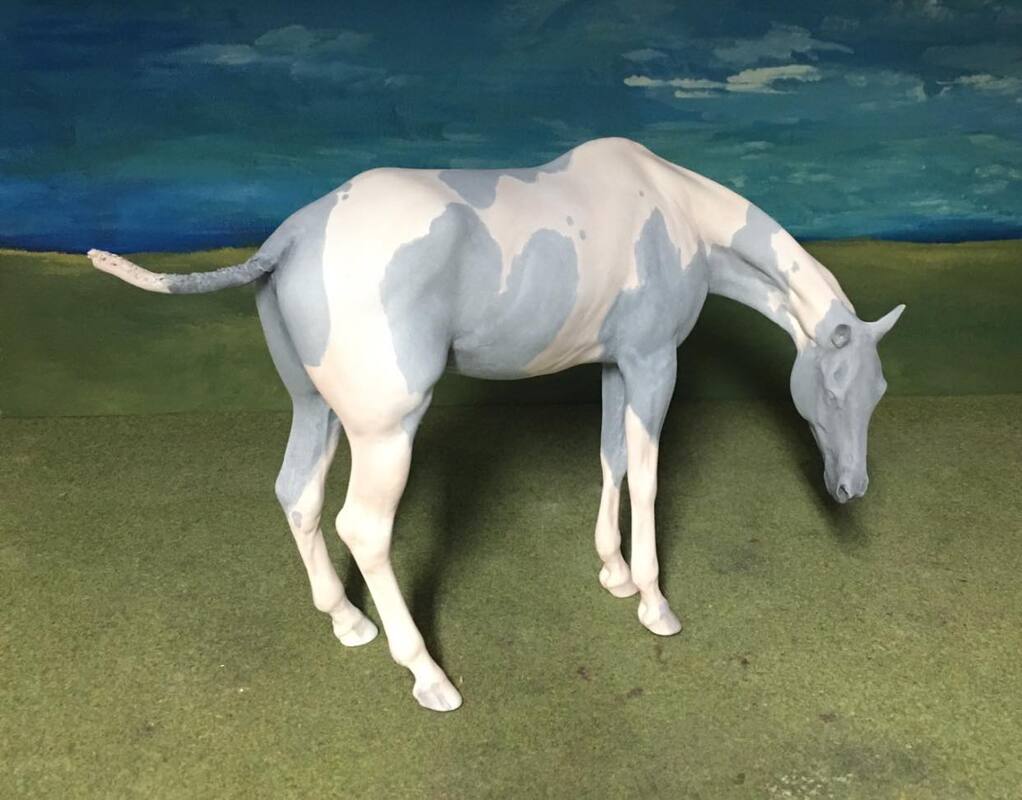
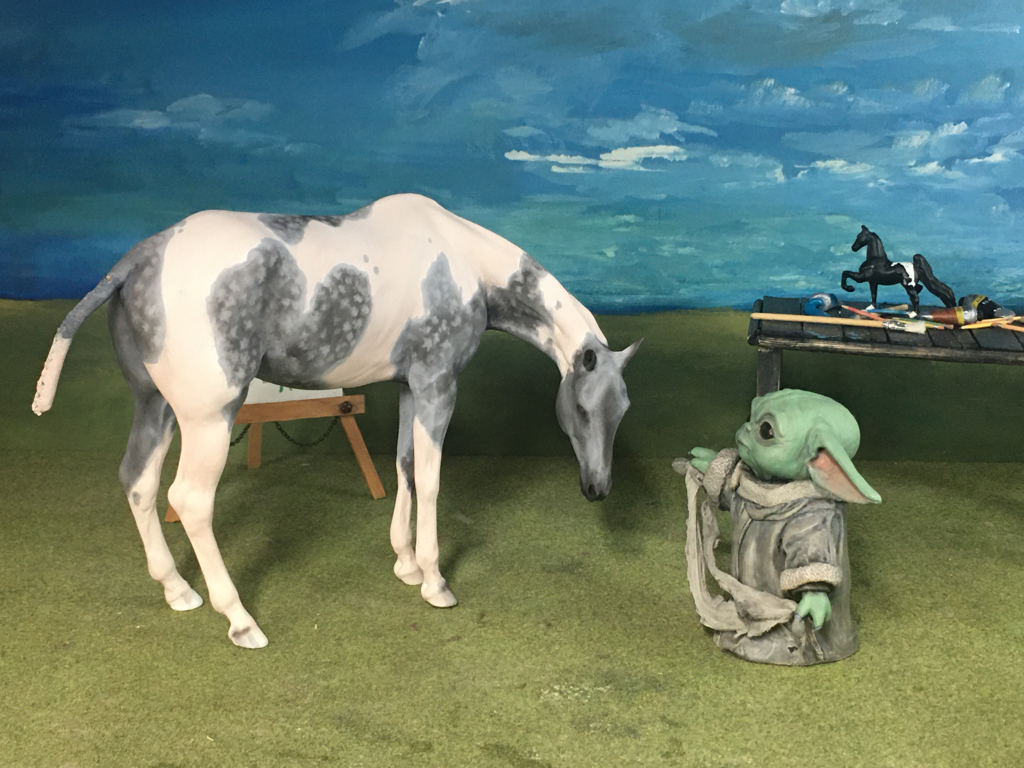
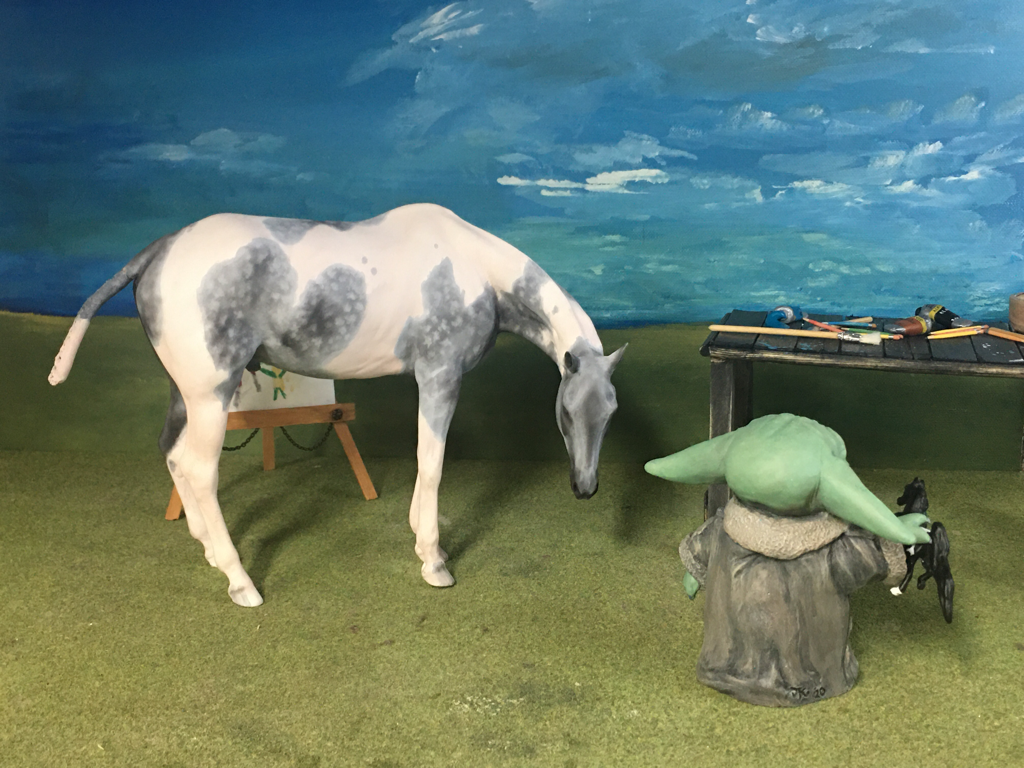
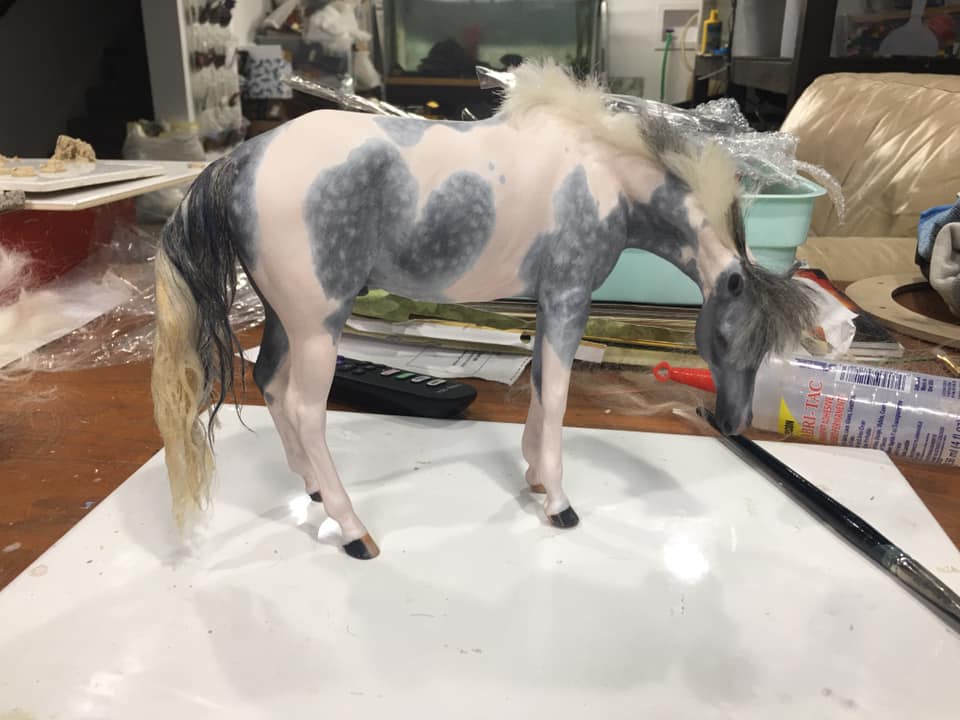
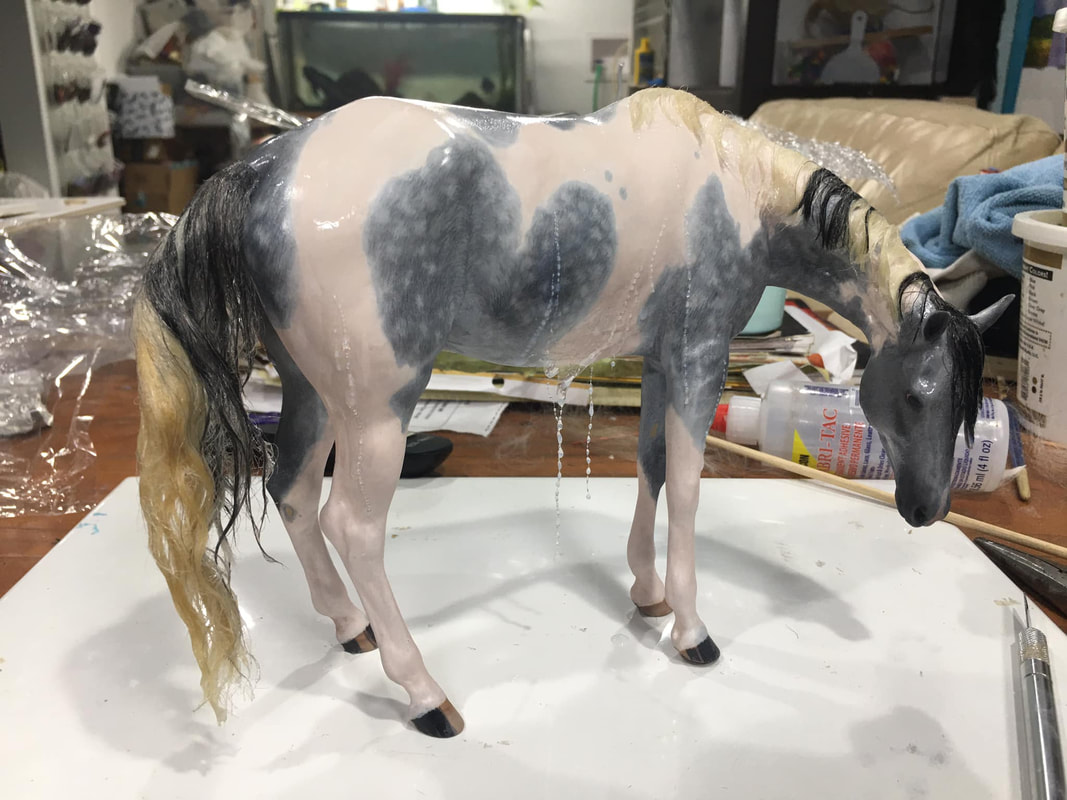
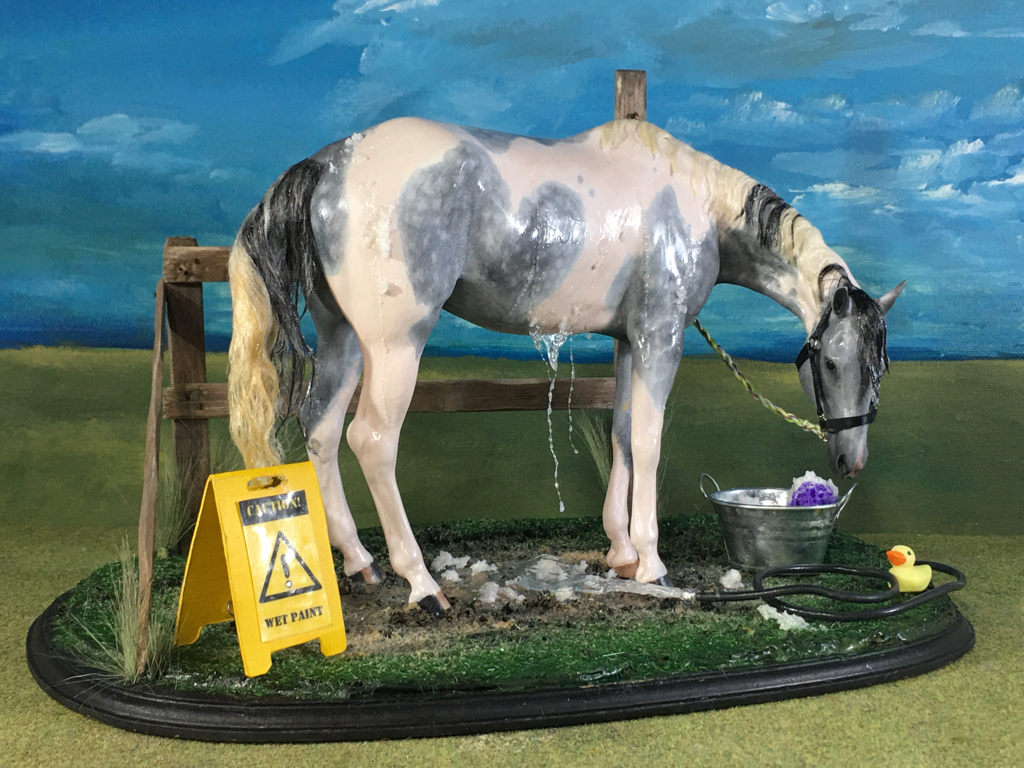
(Yes I skipped a blog for 2019, sorry, that year was kind of a blur!) This year I decided to paint my Hawk resin from Maggie Bennett. He's a 3d print of a life scan of a real horse that she had to tweak and refine a bit for casting. Anyway, I settled on a neat Dappled Grey Tobiano for him, and then after starting him added in another piece of insanity.... I am making him WET mid bath. Did I also mention I am hairing him?? Oh goodness, why do I do these things? So here we go!! Day 1 of actual painting (February 12th): I have him base coated with my pink tinted white mix, and then added a coat of white over that, leaving some areas with more pinkish tones for depth. This is when I decided to do him wet. Then I added the first coat of grey skin tone to his spotted areas. This will take probably 3 coats to get where I want it to be. (Kermit is concerned, but lil Yodi is determined to help see him through this ugly phase...) February 14th: Skintones blocked in! I have shaded the thinner haired areas a bit darker with both the pinks and grays. Next I am starting the Earth Pigments. I’m going to start with a layer of white to set the skin color back. Then I will start working on the grey color. (Yodi and ET are working on the GirPAF.) February 15th: The first coat of Earth Pigments has been added and sealed with Dullcote. I did go back in before doing the pigments and added a few more skin spots and tightened up some of the marking edges. I then went in and did a layer of dappling and dark skin shading. After that coat was sealed I put another layer of white over top and then added a little more dark to the contrasty areas. This layer was sealed and then I finished the details and added 2 layers of pearl-ex micropearl. Feb 24th-25th Mohair: I did the hair the same way that I did in my tutorial on FB, so I don't have pics and detail of the process. Once finished applying the hair I then used my gloss varnish to slick wet the tail. Once that was dry I did the mane. I let that set over night and then started on the rest of the effects. Feb 26th Water Effects: The majority is done with just gloss varnish. I use DuraClear brand but it’s nothing special. It’s a craft brand that I like as it does dry very clear. I did 2 or 3 layers of carefully brush applied gloss to the body. I did not cover the entire horse. I wanted only parts of him to look like the water was fresh, though the entire horse is wet. The mane and tail have about 3 coats each but some of that is just the tips where I wanted the water drips to build up. The actual body drips needed to be to scale which meant I couldn’t just pour gloss on it and let it drip. So I had to make tiny droplets. This was done by brushing several layers of gloss varnish onto single strands if white mohair. The mohair is fine enough to disappear. Once these were dry I trimmed them to the length I wanted and applied them to the horse with more gloss and a small brush. The belly drips are built on some very thin cellophane that was cut to a drippy shape and applied to the horse with more gloss. I built up more layers of gloss and added the drips like I did on the body. He’s DONE! I did it! Goodness gracious I had no clue this is where I would end up with him at the start of the month. I had just planned to paint and hair him. Then half way through the month when I actually started on him, I decided to make him wet. Then he needed a scene, which also kept on building. I made everything except the Hawk resin and the bucket. Super proud of how it turned out. Every year for NaMoPaiMo I do a piece For myself and then within months end up selling it. Not this one. Ernie stays. He’s mine. This is the epitome of everything I enjoy about making model horses. ❤
0 Comments
Leave a Reply. |
AuthorNaMoPaiMo blog and general musings by artist Jen Kroll Archives
February 2020
Categories |
 RSS Feed
