|
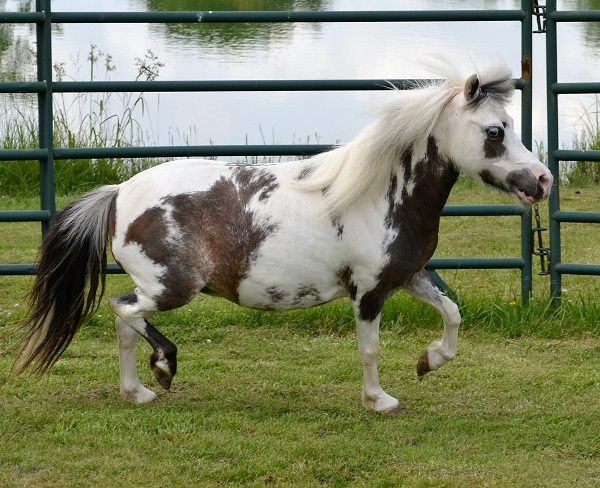
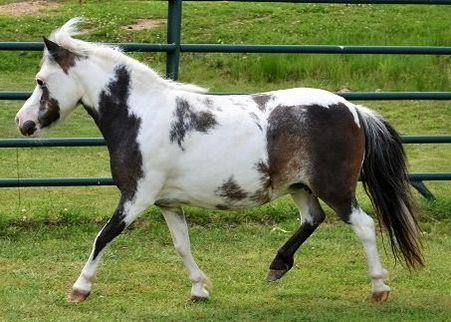
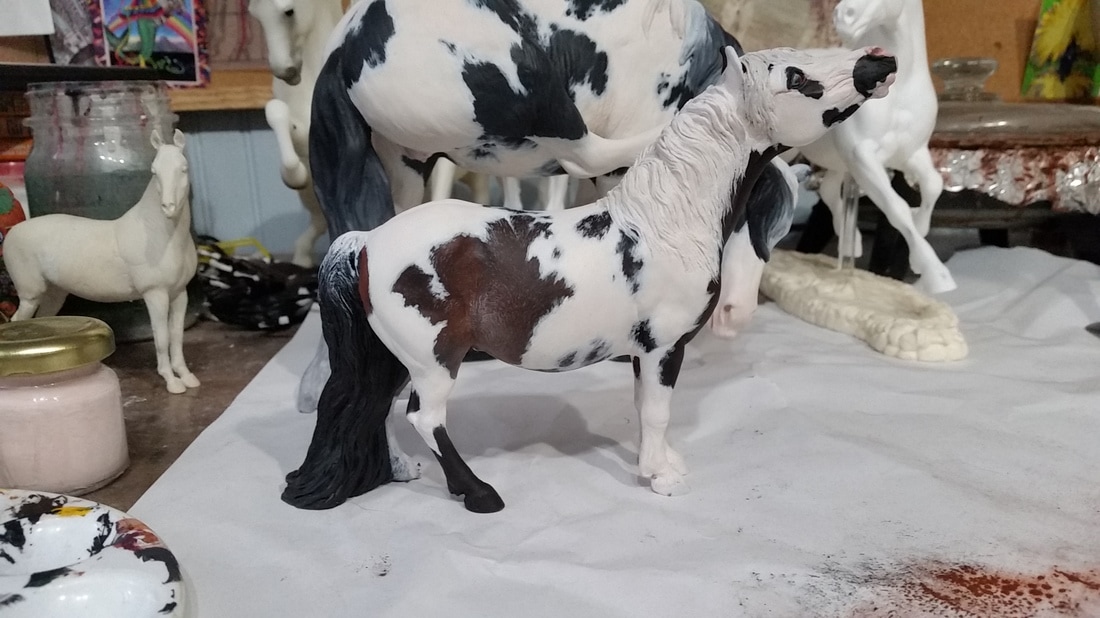
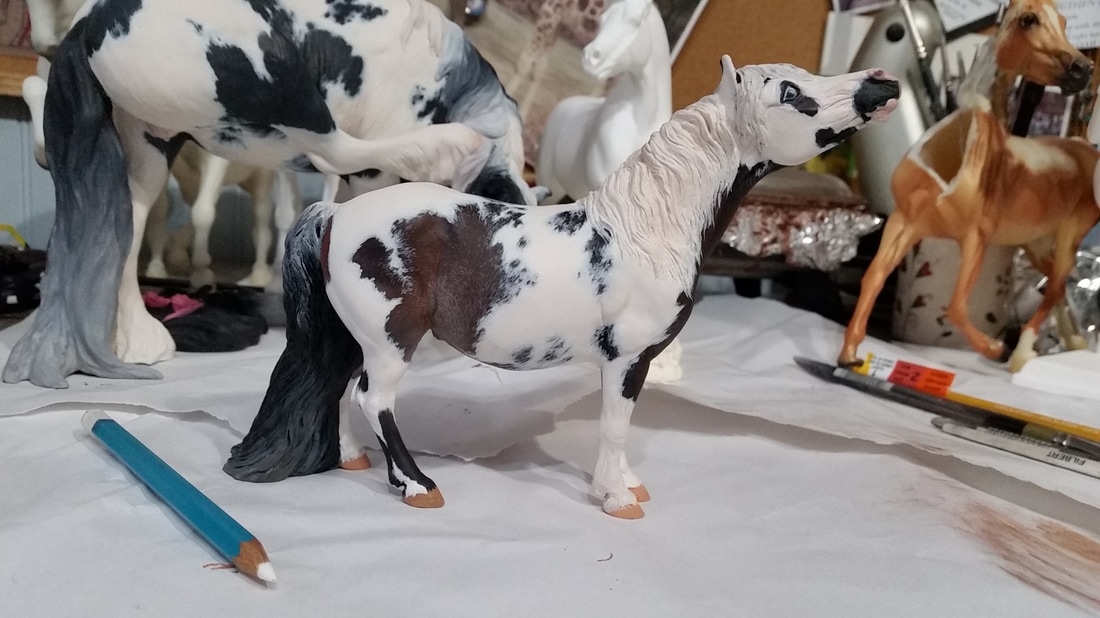
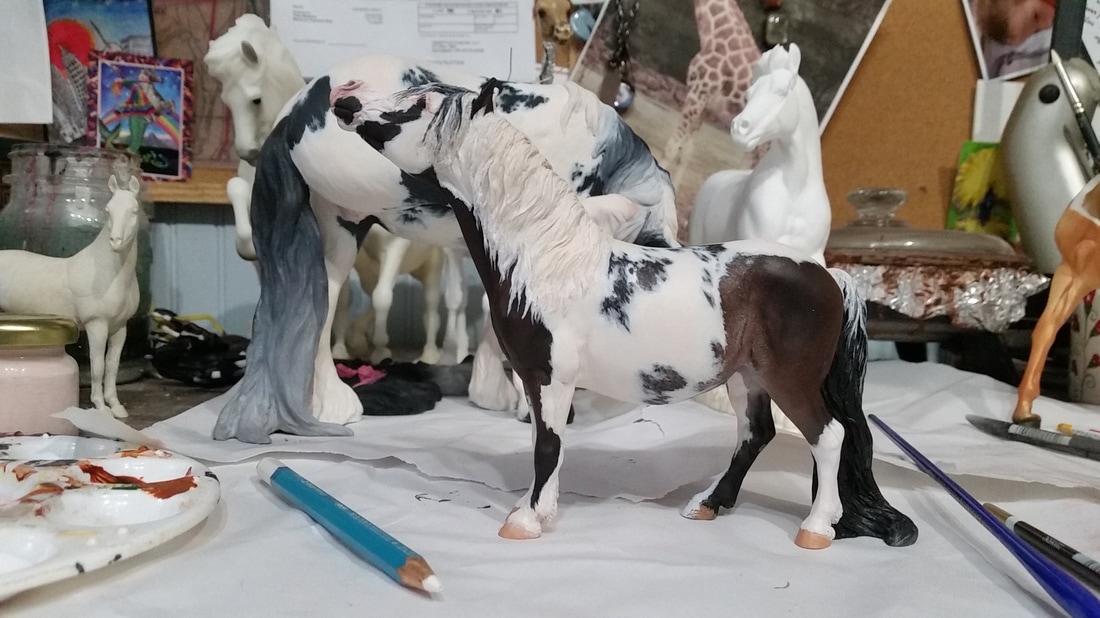
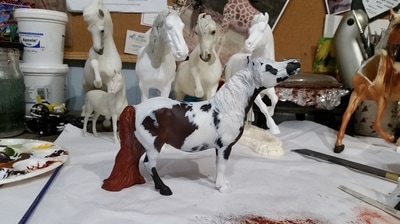
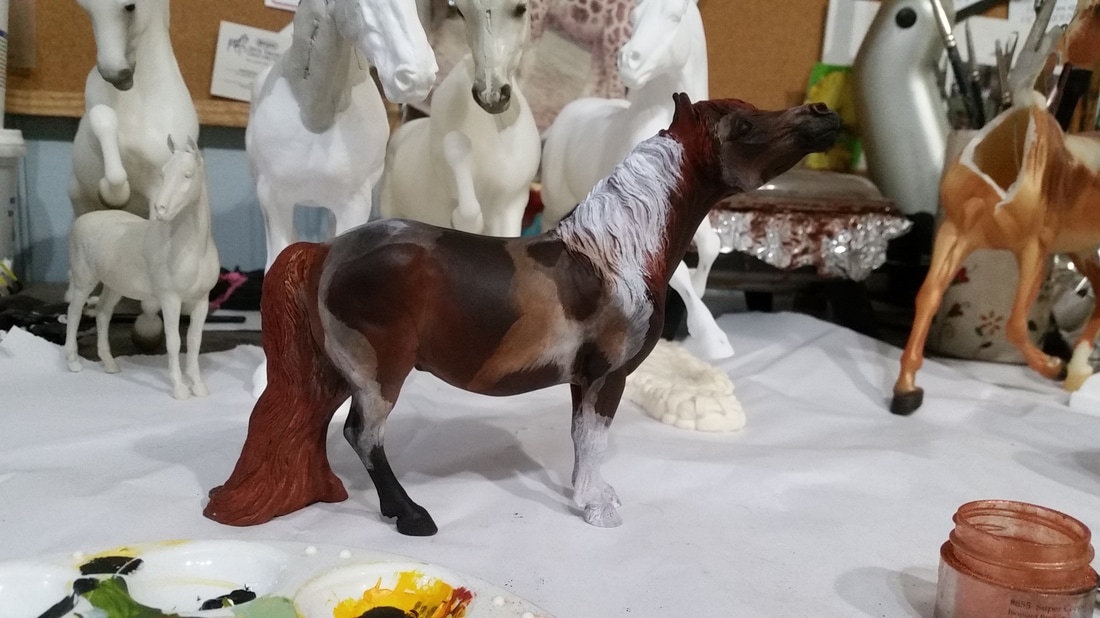
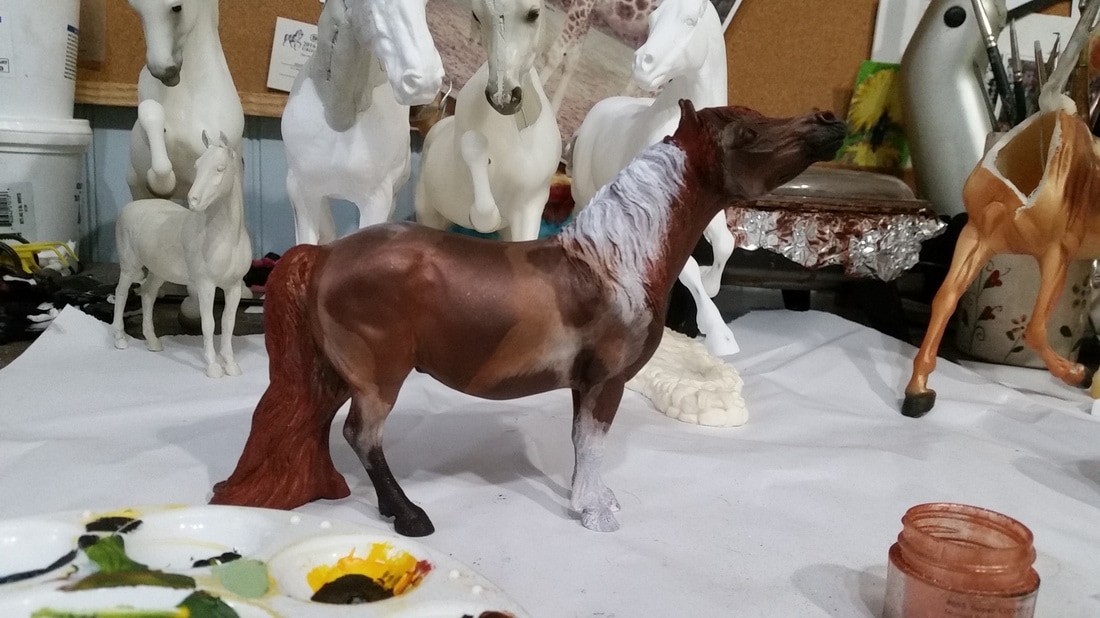
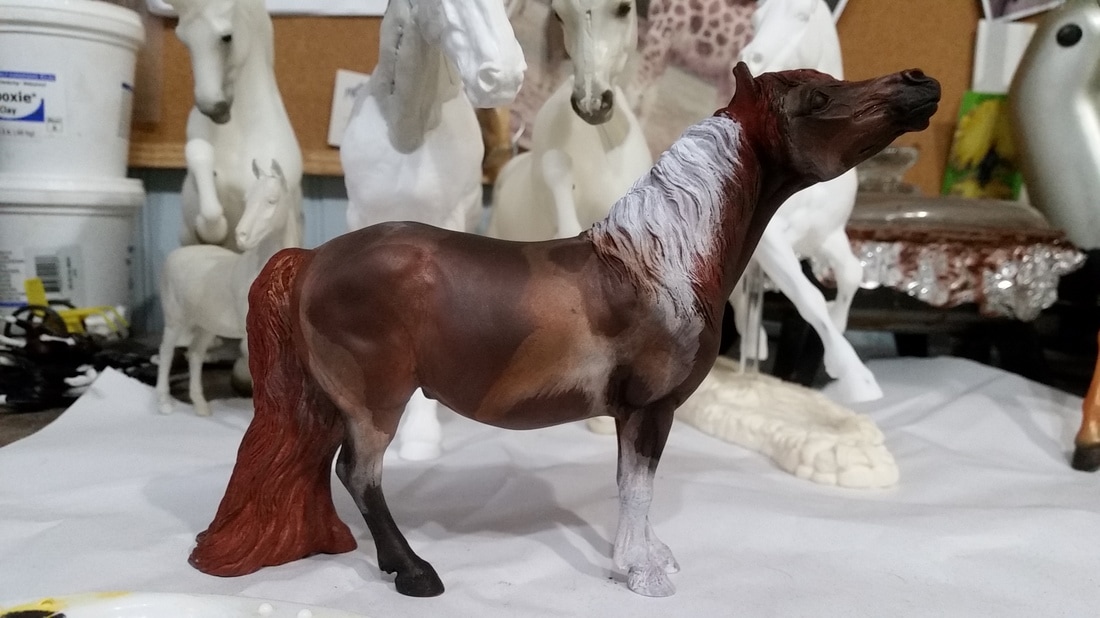
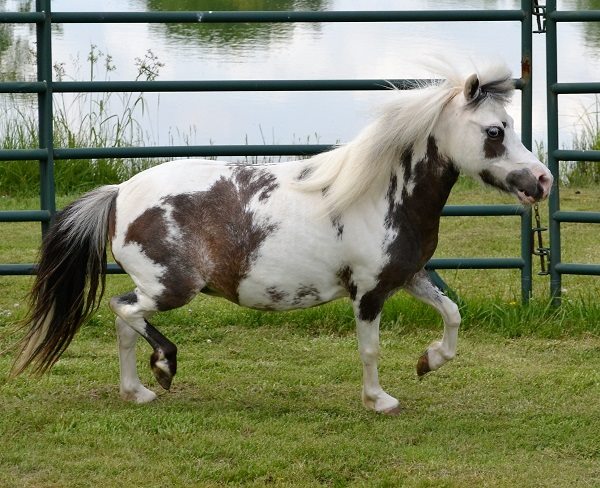
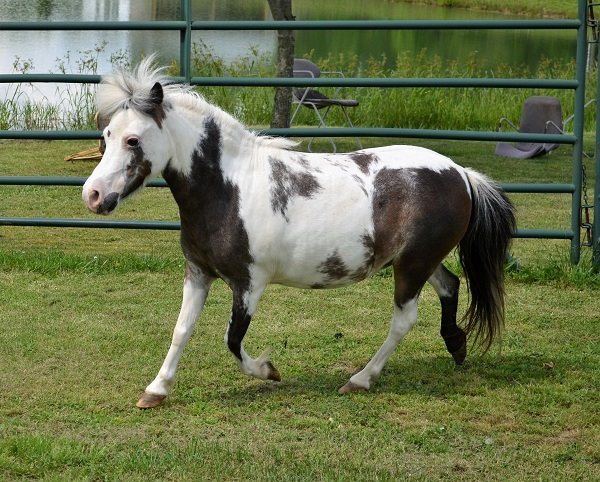
The month got away from me as we had several illnesses and such run through the house, as well as projects to work on while hubby was on vacation. So, I only had a couple days here and there the last 2/3 of the month to actually work. BUT I have FINISHED him!! Here's my "I DID IT!!" post. :) What did I learn this month? I learned that no matter what I plan to do, it isn't likely to happen on my planned timeline. That's a lesson I have to keep learning over and over, but it's good to have goals. And I did finish on time, I just did not get my second/third horse done as I'd hoped. I did love NaMoPaiMo for the amazing show of community. I hope it continues in other forms. And here is the reference horse he was painted after. Not an exact portrait but pretty close.
1 Comment
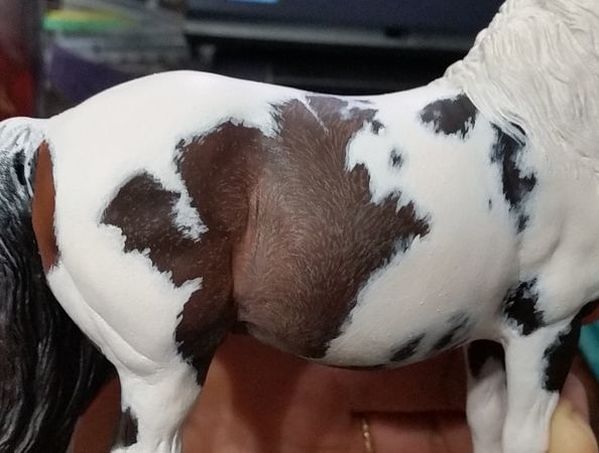
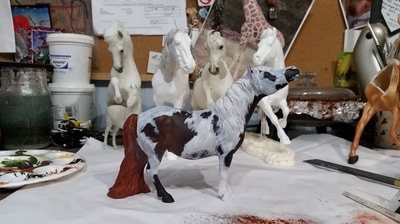
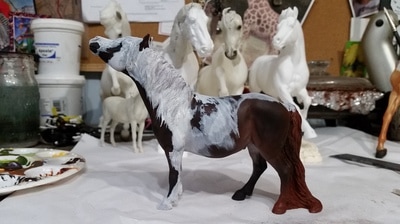
So back to the final stages of my Kipling. I left off with the million coats of white. I then went in and did a couple layers of pencil detailing where the roaning on the ref horse was. After that I sealed it with dullcote and did a bit more white detailing along the edges, painted eyes, hooves, tail, and detailed the forelock. He got another coat of dullcote, and then some pearl-ex on his white markings and roany areas. Sealed again, a little pastel on the nose and hooves to dull them down, and add a layer of dirt, then another spray. Last is gloss on the eyes, and a signature! (Final pics in the next post)
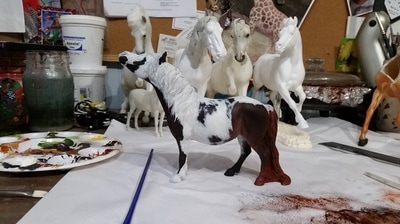
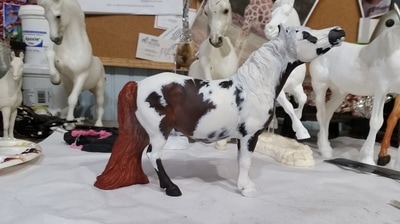
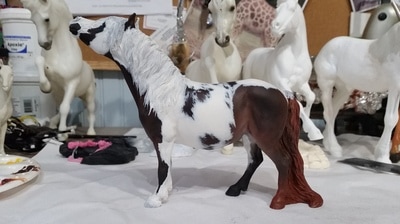
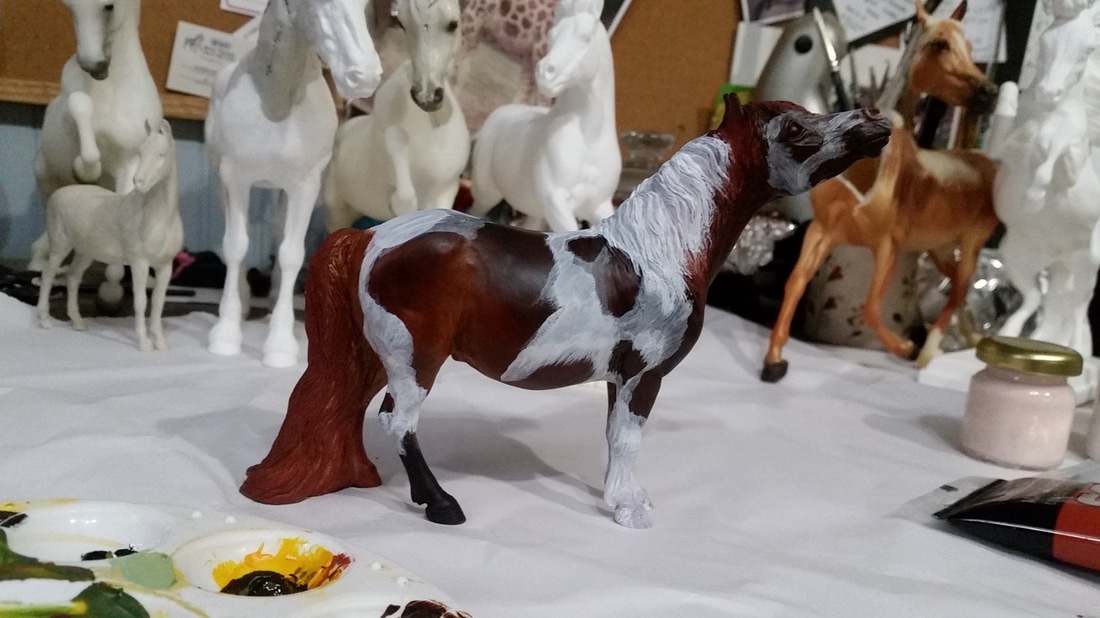
Now it's time to get the markings painted in. This part takes a lot of layers, and quite a bit of time. I may be working on this part all week.
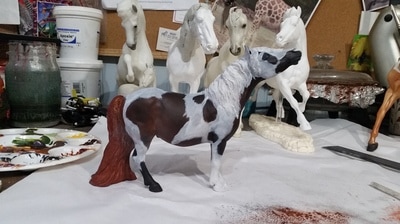
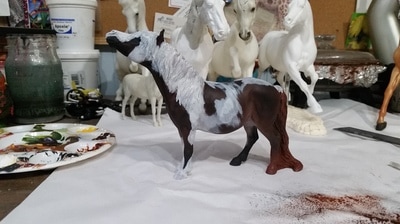
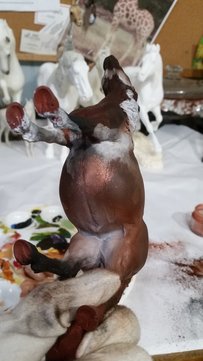
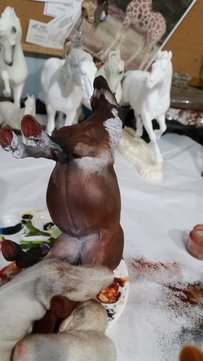
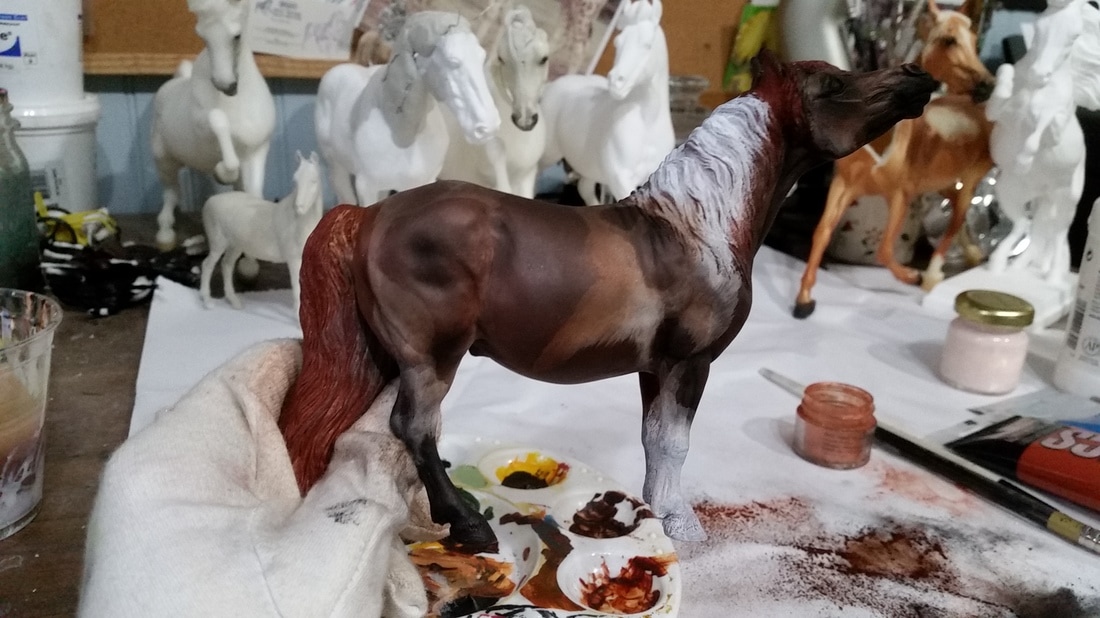
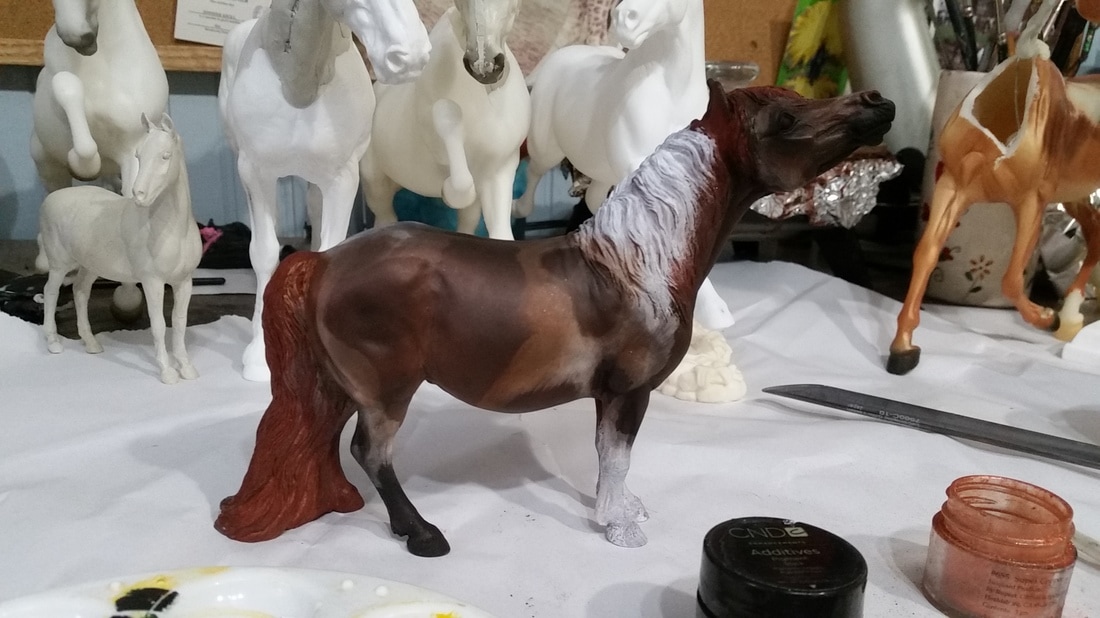
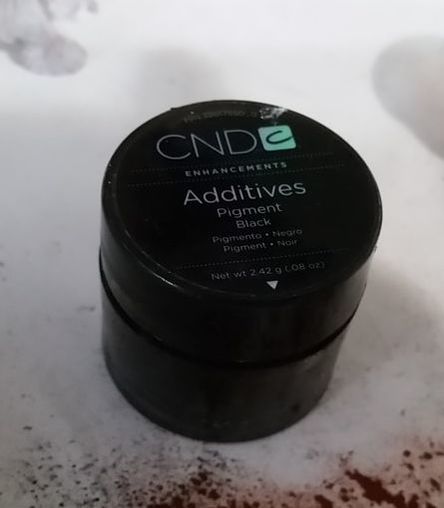
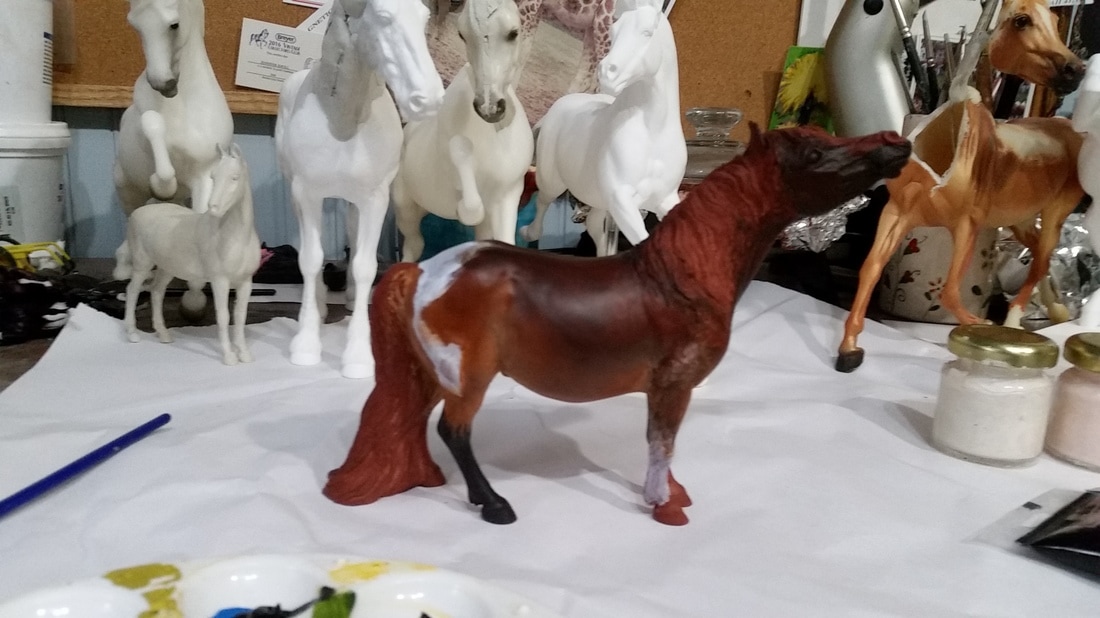
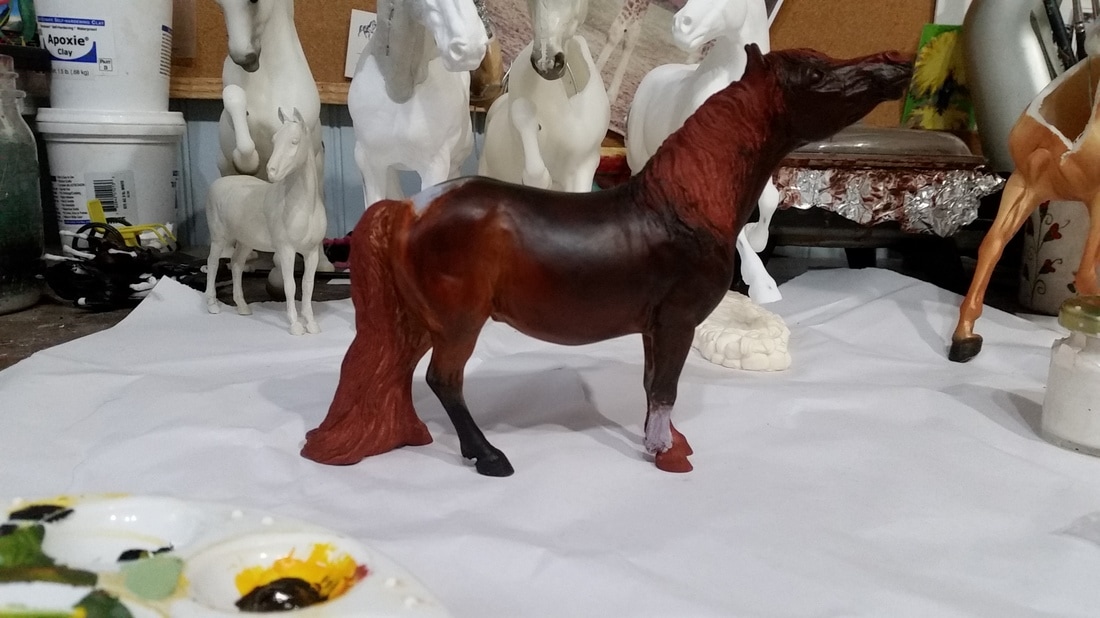
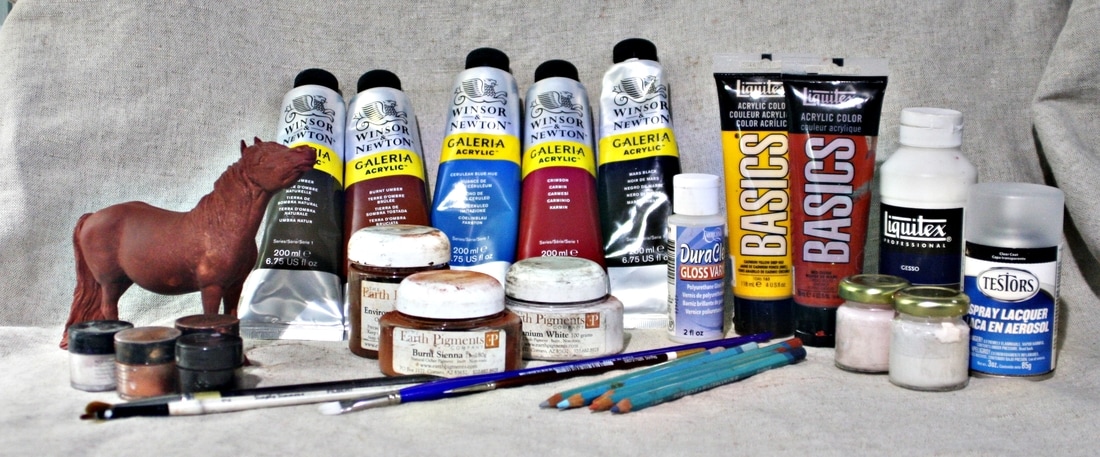
My white marking mix is made up of gesso, white acrylic, various shades of brown acrylics, a little red oxide (more in my pink skin mix), and water. I put this in a small jar and put a bead in it and shake it to mix (and before I open it each time I use it).You don't want to add too much of the colors that it is actually visibly tinted, but you don't want it stark white either (unless it's a bathed and chalked show horse, it's not going to be WHITE). Most horses have white that leans slightly towards the yellow/browns. You want it to be thin enough that it does not leave any ridges or brush strokes. Sometimes if I am not certain how much white I want to add or if I am doing a portrait, I will draw the markings on with white watercolor pencil. These are easily wiped off. I start by blocking in the markings with a filbert. I will do the first couple coats with this, keeping the dark areas slightly larger than I want them to end up. Then I start using a small round brush and painting in the edges the direction of the hair growth. Start away from the edge and then as your brush gets a little less paint on it work to the edge. This keeps the markings from getting raised ridges along the edge. My white mix takes about 7 coats to get full coverage. Next I will I go in with some of my pink-white mix and add it to the thin furred areas on the face, and underbelly. If he was a show shaved pony there would be a lot more pink. Since he's full coated, there won't be as much skin showing. These guys have a LOT of hair. I will use some very light browns and yellows to shade the white areas (they are not only hairy, but often dirty.. I could bathe my pinto stallion for hours and still not get all of the dirt off. lol). Skin tones and shading will probably be tomorrow. 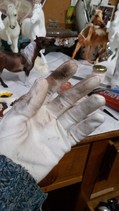 I got my acrylic base coat done on day 2, and moved on to the pastel (Earth Pigments) portion last night, finishing that and adding the Pearl-Ex today. When applying pastels and Pearl-ex I wear a cotton glove on the hand I am holding the horse with.This is important because holding it with your bare hand can rub paint off, and deposit oils that will grab pigment differently than the rest of the horse. It also minimizes the amount of dust that gets on places you don't want it. These cheap cotton gloves can be purchased online or at some art stores. So here is Kipling in acrylics with one or two layers of Earth Pigments over top, and sprayed with Testor's Dullcote. I have used them to blend the belly color with the darker color over the rest of the horse. The back, nose, eye area, ear tips, and shoulders are all done with some black. The rest is burnt sienna and a little white in between the back legs and around the sheath, and slightly up the flank area. now he is ready for some Pearl-ex. I use a fluffy old brush to grind the Pearl-ex powders into the coat. When they first go on, you can see how glittery they are (left). The second picture shows how they look after grinding them into the finish. You can blow any excess off (careful not to spit on it! Haha). Here he is all glowing with a coat of Super Copper Pearl-Ex. And some black added to the topline, down the middle of the back end and along the barrel and elbow areas. I still have not sprayed him since the pastel coats in the beginning of this post. Now I use a small old flat brush to very carefully place some black pigment into creases and shadowed areas. The stuff I use for this is not the Earth Pigments. The EP are good but the black is not as dark as I want. The pigment I use for the black here, is meant for tinting nail epoxy. It's a "black hole" sort of light sucking black that I have found to be unrivaled. It's the only thing I have that is dark enough to match black mohair, so it's VERY useful in horses I am going to hair. This stuff does not move and blend like the EP does though so you have to be VERY careful where you put it. Because once it's there, it's not moving. The benefit of putting it over a fresh layer of the Pearl-ex is that it sort of lubricates it. It allows me to blend it in a little more than I would be able to normally. Here I have added it into some target areas (you can see the stripes of it in the wrinkles near the withers, and in the lower muscle depressions below the hip. Once the black is blended in, I go over it with more of the Pearl-Ex to set it in. You still want it to have a sheen, you just want it to be a little less than the highlights.
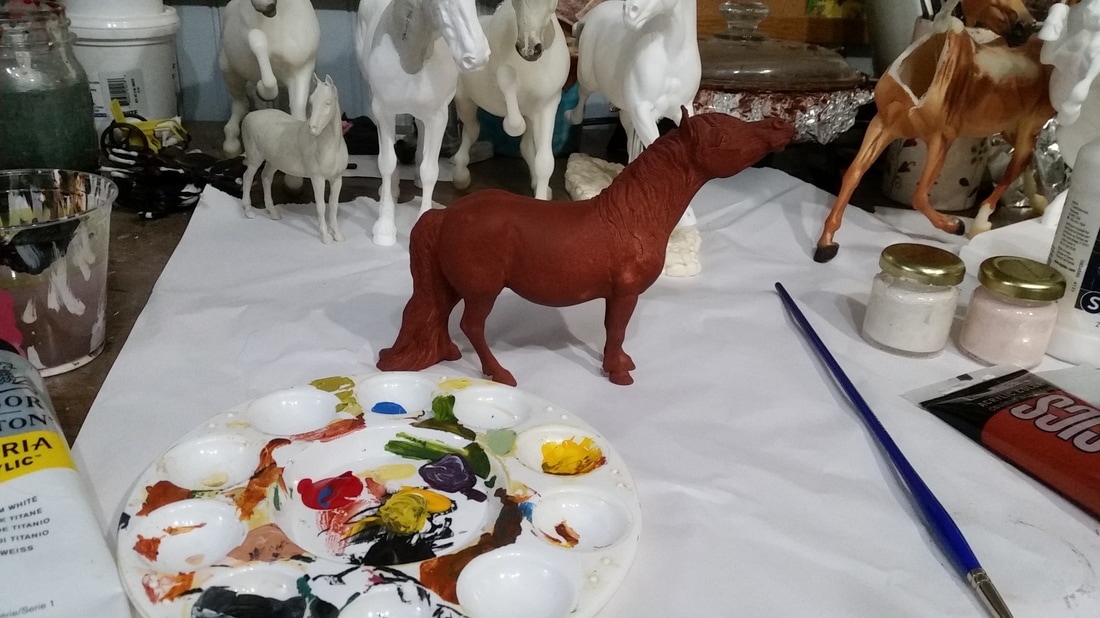
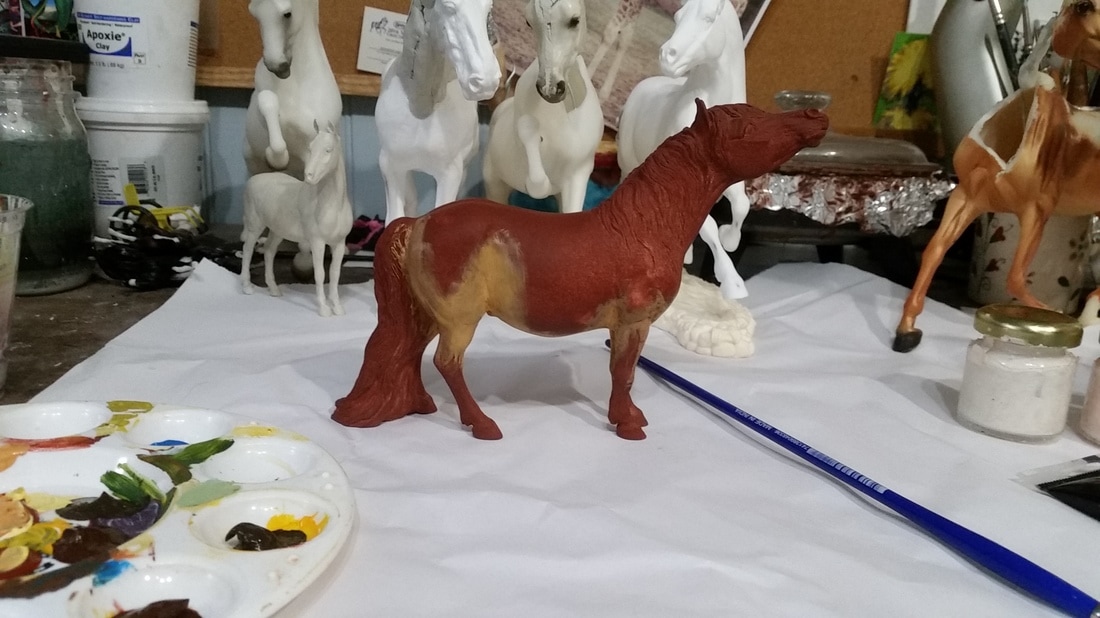
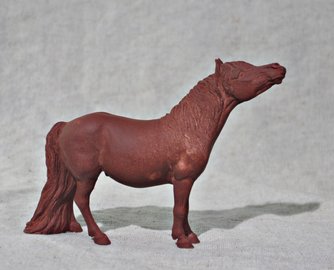
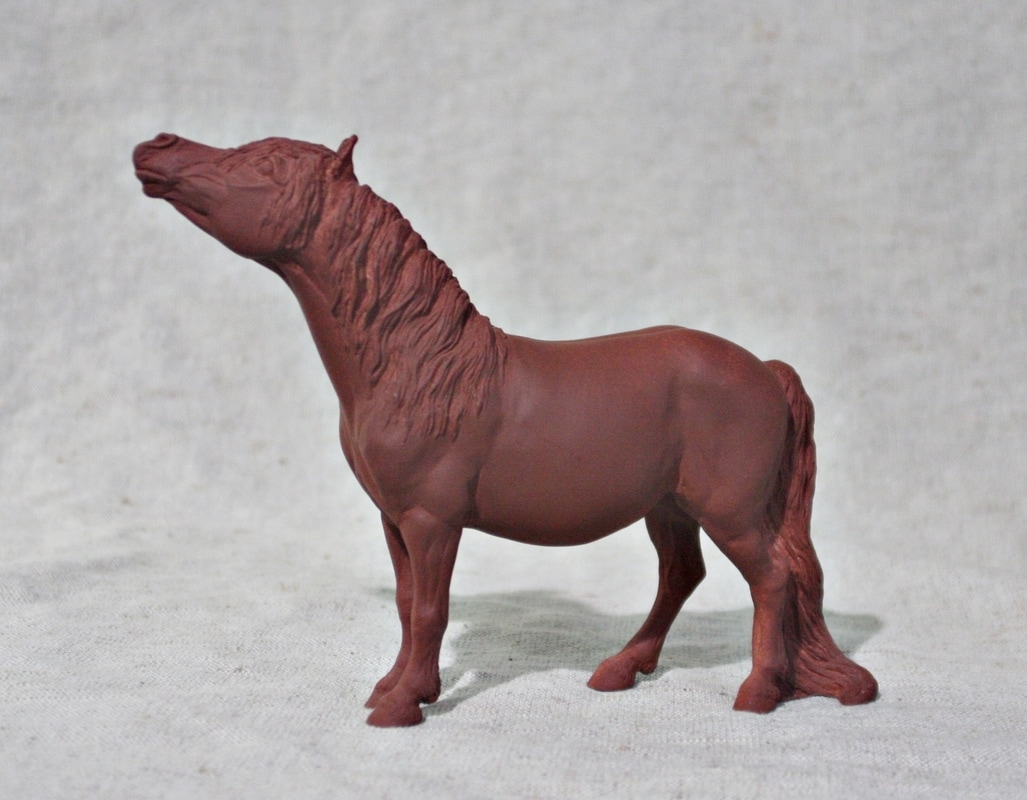
I started painting tonight around 7pm finally and stopped at 11. I did take a few breaks in there so probably 2 hours of it was actual painting time. Here's the progress so far. Here is the starting point! One horse in primer. Paints and brushes are out. Reference pictures are on my big monitor. Crowd of onlookers is present. Here I have blocked in a layer of lighter color on the underbelly and between the front legs with acrylics. Now I have worked in some darker shades over the top and blended it into more layers of lighter color on the underside. I have blocked in a few of the white areas with thin gesso just so I have a guide as to where I need to work on shading and what is just a waste because it will be covered up anyway. Tips for working with acrylics by brush: If the colors you are using are translucent you can add a tiny bit of white to them to help them cover better. I will often do this with the base coat, and then work non-mixed colors over top. The more translucent ones give more of a glow and richness to the coat. Always let each coat dry thoroughly before starting the next one. Keep layers thin. I do a lot of dry brushing with acrylics to keep the brush strokes to a minimum. Another layer on and he's getting nice and rich. Now I have blocked in some of the white areas with gesso. This horse has a lot of roany spots so I made sure to leave the colored areas larger than they will be on the finished piece. After this I start on the pastels!
Last night I realized, as people started posting pictures of their studios, that I forgot the "location" in my first blog post. I really enjoy getting to peek inside everyone's little art havens, so here it is, Chookhenge Studio. It's in a constant state of flux as new projects take over (or pets move in, as the case was most recently), and things shift around. Under the big desk I have an air purifier that I run when doing pastels or anything with fumes. I do NOT spray in my studio though. That's reserved for a room with an exhaust fan in the window. My studio has no natural light, which is the only real downfall to this space (other than it's weird shape). Someday I'd love to take over a room downstairs again. One with windows and a bit more wall space.
Now I really must get to work!! I should have some progress pics posted later tonight. :) Today is the first day of the NaMoPaiMo challenge! If you don't know what it is, you can check out the blog post of the creator, Jennifer Bray Buxton. Inspired by the NaNoWriMo (National Novel Writing Month), she came up with National Model Painting Month to help motivate herself and others to just get painting. That snowballed into a fun competition which now has nearly 300 participants, and this is it's FIRST YEAR! WOW! So here we go. Everyone had to pick a victim, er I mean model, in which to work on. One that has only been prepped and not actually started, preferably. So I decided that I would work on one that has been sitting on my shelf for years, waiting for me to finally get around to it. It's for my own collection so I haven't had much of a push to actually get it done. Usually whatever I actually finish gets put up for sale to pay bills and I really wanted to keep him so Kipling sat, along with his buddy, Winter's Whimsy, just waiting. I will see if I can also manage to get Whimsy done this month or at least make some headway on her. The victim:Morgen Kilbourn's trad scale Miniature horse, "Kipling". The tools:Acrylics, pastels, pearl-ex, & colored pencils (possibly) The plan:Dark bay tovero (Tobiano, splash, sabino, frame?... I'm not really sure what all this gal has going on but I LOVE it!) Normally I would not post my reference pics since they do not belong to me, but since this is an educational thing, I am going to go ahead. If the owner of this horse would like me to remove them, I will. Also I remember I got these pics off a sales site, and if the owner would like to sell her I might be interested. *wink* The process:This is where this blog takes over. I will try to update every day that I work. I don't think I will actually be able to start painting until February 2nd, so check back!
|
AuthorNaMoPaiMo blog and general musings by artist Jen Kroll Archives
February 2020
Categories |
 RSS Feed
